Travel photography is more than just capturing a moment; it’s about telling a story through your lens. For RVers, who often find themselves in some of the most scenic and remote locations, the opportunities for stunning photography are endless. This guide will help you elevate your skills, offering travel photography tips on lighting, composition, color, angles, and more. Plus, we’ll discuss why traveling by RV is perfect for professional photographers and RV bloggers alike.
The Importance of Lighting in Travel Photography
As professional travel photographers know, lighting is the cornerstone of photography. T The right lighting can turn an ordinary scene into something extraordinary. For RVers, who can often choose when and where to shoot, taking advantage of natural light becomes even more critical.
-
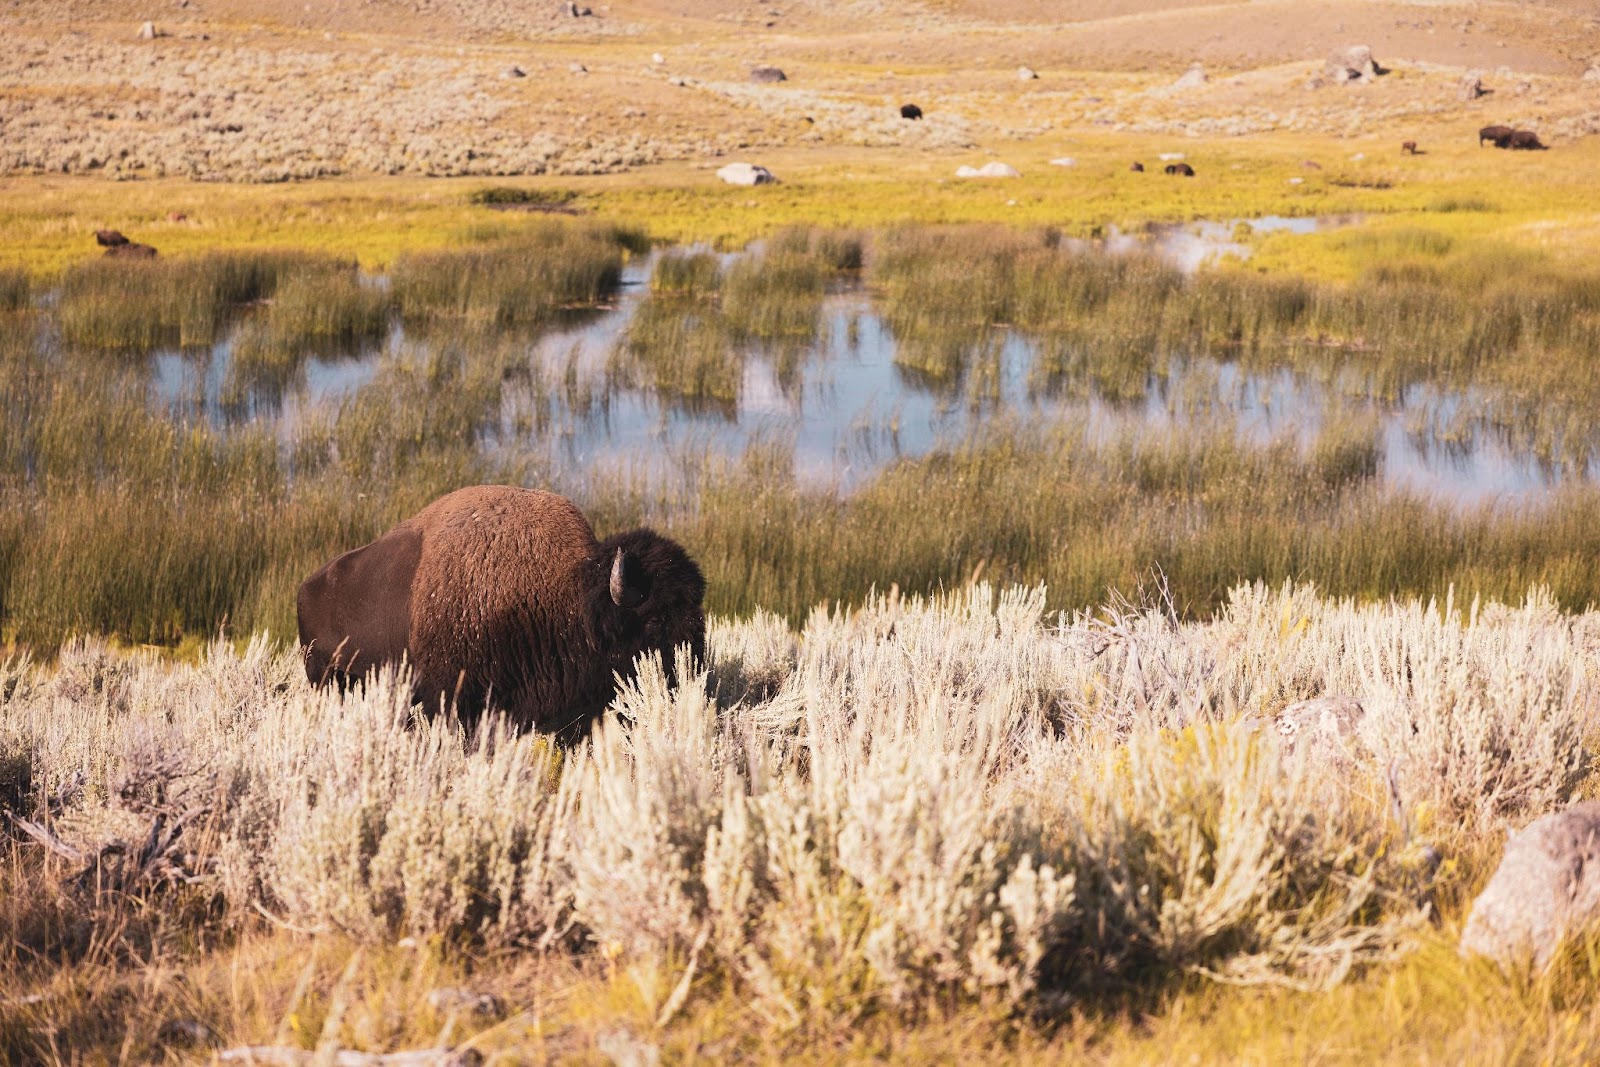
Golden Hour: The golden hour, shortly after sunrise and before sunset, provides soft, warm light that enhances colors and reduces harsh shadows. This is the best time for landscape photography, portraits, and wildlife photography.
-
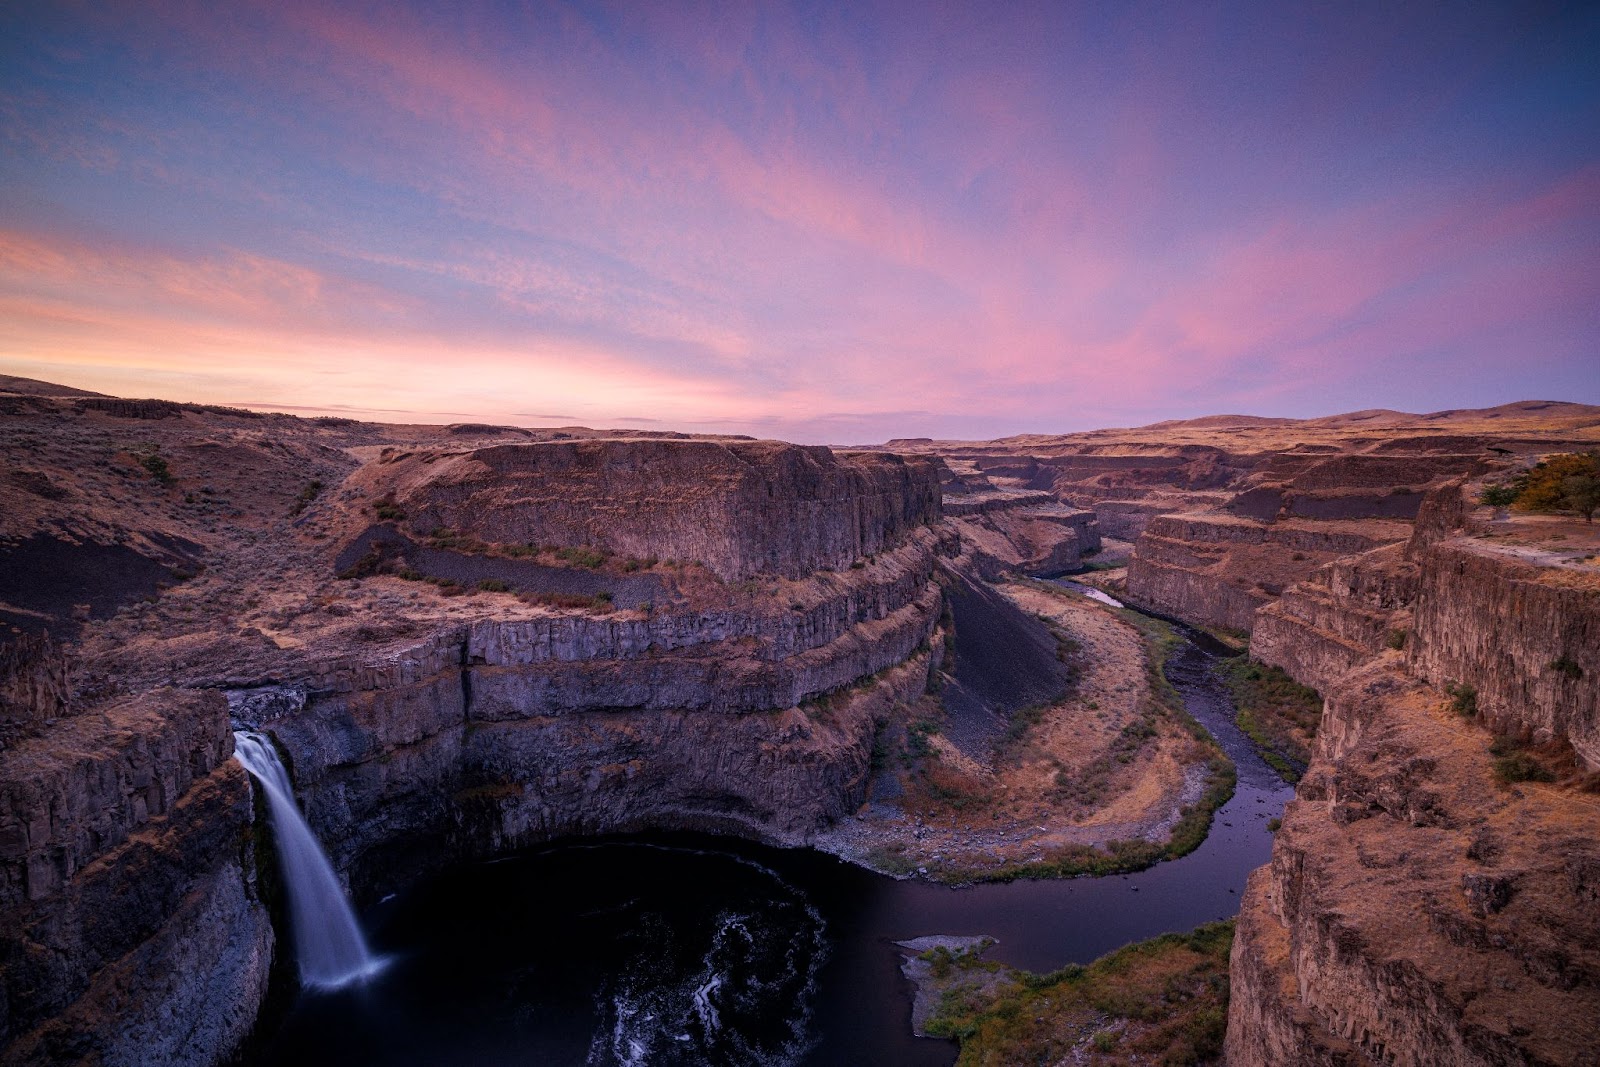
Sunrise and sunset photos: Sunrise and sunset are magical times for photography, especially when you're on the road with an RV. The low angle of the sun during these times creates long shadows and a warm, golden hue that can transform any scene into something truly breathtaking. Whether you're capturing the sun rising over a mountain range or setting over a peaceful lake, these moments are perfect for conveying the tranquility and beauty of nature.
-
Blue Hour: The blue hour, the time just before sunrise and after sunset, offers a cool, soft light. It’s ideal for capturing moody landscapes, cityscapes, and reflections.
-
Midday Light: While often harsh, midday light can be used to your advantage. Look for interesting shadows, or shoot in shaded areas to diffuse the light for amazing photos.
-
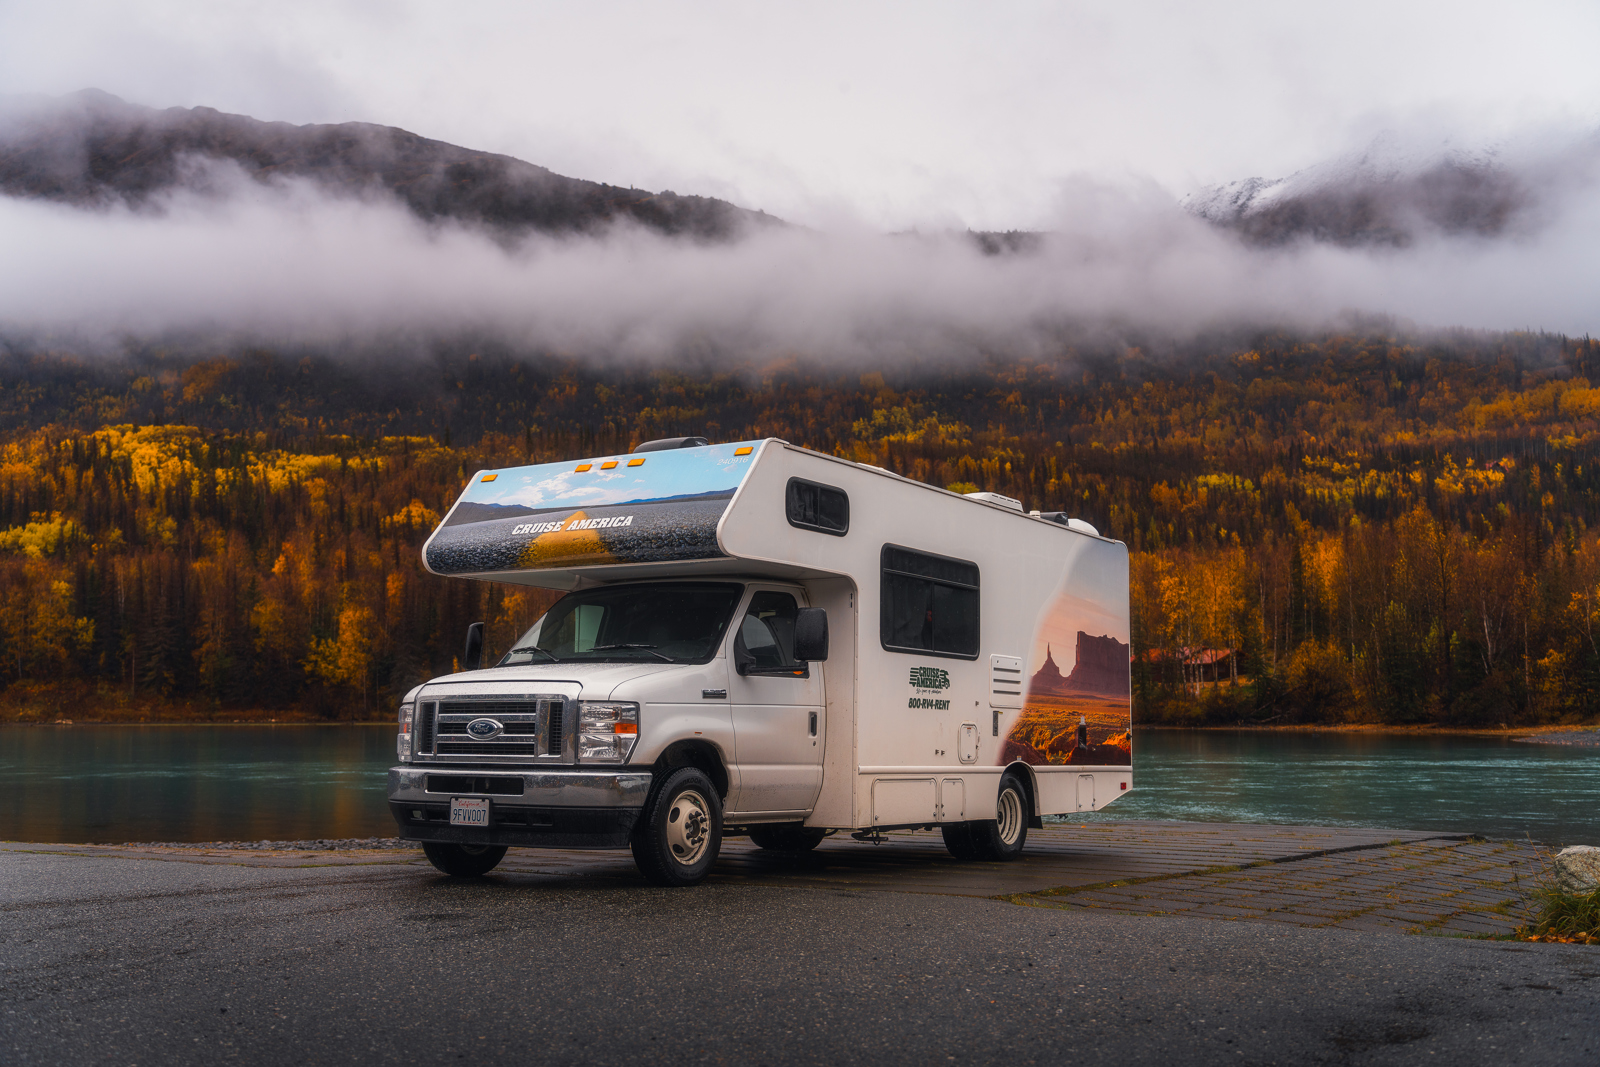
Overcast Days: Cloudy skies provide soft, diffused light, which is perfect for shooting details and portraits. The even lighting reduces contrast, allowing you to capture subtle details that might be lost on a sunny day.
Framing and Composition: The Art of Telling a Story
Composition is what makes your photo interesting and engaging. It’s the difference between a snapshot and a work of art. Here are some key composition tips for beginner travel photographers:
-
Rule of Thirds: Imagine your frame divided into nine equal parts by two horizontal and two vertical lines. Place the main subject of your photo along these lines or at their intersections to create a balanced and dynamic image.
-
Leading Lines: Use natural lines like roads, rivers, or pathways to lead the viewer’s eye through the photo. This technique adds depth and dimension to your images, making them more immersive.
-
Framing: Look for natural frames like trees, doorways, or windows to encase your subject. This not only draws attention to the subject but also adds layers to your composition.
-
Symmetry and Patterns: Symmetrical scenes and repeating patterns can be striking. Whether it’s a perfectly mirrored lake or a pattern of rocks, symmetry and patterns are pleasing to the eye and add a sense of order to your photos.
-
Negative Space: Don’t be afraid of empty space in your photos. Negative space can help to highlight your subject and create a sense of scale, especially in vast landscapes.
Understanding Color: Making Your Photos Pop
Color plays a significant role in travel photography, affecting the mood and impact of your images. Here’s how to use color to your advantage for awesome photos:
-
Color Contrast: Use contrasting colors to make your subject stand out. For example, a red RV against a blue sky creates a vibrant, eye-catching image.
-
Color Harmony: On the flip side, harmonious colors — those that are close to each other on the color wheel — create a soothing, cohesive image. Think of a sunset where the sky transitions from orange to pink.
-
Monochrome: Sometimes, reducing the color palette to shades of a single color can create a powerful, minimalist image. This is particularly effective in foggy or snowy conditions.
-
Post-Processing: Use editing software to enhance the colors in your photos. Boost the saturation slightly for more vibrant images or adjust the white balance to correct color tones. However, be careful not to overdo it — natural-looking colors are usually more appealing.
Angles and Perspectives: Finding a Unique View
Changing your perspective can completely alter the mood and impact of your photo. As an RV professional photographer, you have the flexibility to experiment with different angles and viewpoints.
-
High Angle: Shooting from a high vantage point, like a hill or even from the roof of your RV, provides a broad perspective and can capture vast landscapes in one shot.
-
Low Angle: Getting low to the ground can make subjects appear larger than life and add drama to your photos. This is especially effective for capturing towering trees, mountains, or even close-up details of nature.
-
Wide Angle: A wide-angle lens allows you to capture more of the scene, making it perfect for landscapes and interior shots of your RV. Be mindful of distortion, which can be creatively used or corrected in post-processing.
-
Close-Ups: Don’t forget to capture the small details. Close-up shots of leaves, textures, or intricate patterns add variety to your photography and tell a more complete story of your travels.
Why Traveling by RV is Ideal for Professional Photographers and Travel Bloggers
Now that we’ve covered the technical aspects of how to take great photos, let’s discuss why RV travel is perfect for photographers and bloggers.
-
Flexibility: One of the biggest advantages of RV travel is the flexibility it offers. Unlike traditional travel, you’re not tied to a strict schedule or specific accommodations. If you find a perfect spot with stunning light, you can stay longer to get the shot you want.
-
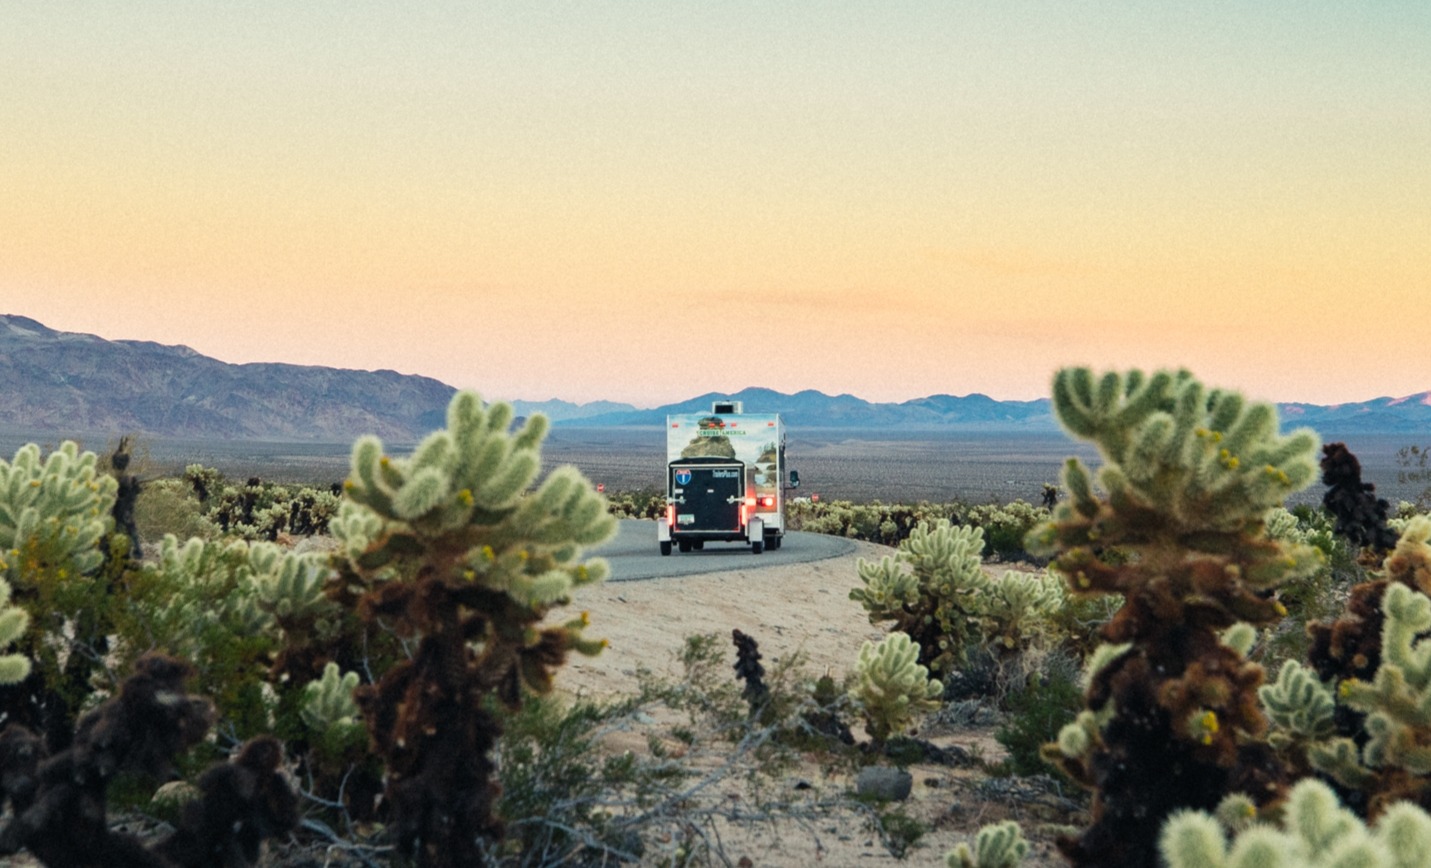
Access to Remote Locations: RVs allow you to reach off-the-beaten-path destinations that might be inaccessible otherwise. Whether it’s a secluded beach, a hidden mountain pass, or a remote forest, your RV can take you there, providing endless opportunities for unique and beautiful photos.
-
Comfort: Traveling by RV means you have all the comforts of home, no matter where you are. This allows you to focus on your photography without worrying about where to stay, where to eat, or how to get around. Plus, you can easily store and organize your gear in your RV, ensuring that everything you need is always within reach.
-
Slow Travel: RVing encourages a slower pace of travel, allowing you to truly immerse yourself in your surroundings. This slower pace is perfect for photographers who want to take their time finding the perfect shot. You can wake up to catch the sunrise, explore during the day, and settle in for the golden hour, all without having to rush from place to place.
-
Community: The RVing community is a welcoming and supportive one. Whether you’re a seasoned photographer or just starting, you’ll find plenty of opportunities to connect with other RVers who share your passion. This community aspect can provide inspiration, tips, and even collaborations that enhance your photography and blogging.
Become a Travel Photographer with Cruise America’s RVs
Travel photography is a rewarding and creative pursuit, and as an RVer, you have a unique advantage. The freedom, flexibility, and access that RV travel offers allow you to explore and capture the world in ways that traditional travelers often can’t. By mastering the fundamentals of lighting, composition, color, and perspective, you can create stunning images that tell the story of your adventures. Hone your photography skills by following the amazing tips in this article to capture incredible images of the world's natural beauty.
So, pack your camera, secure an RV rental from Cruise America, and start capturing the beauty of the world from the comfort of your RV. Whether you’re documenting your travels for a blog, social media, or personal enjoyment, this guide will help you take your photography to the next level.


